Hi everyone, Graham here. Spring has sprung and it is time for us to start our seedlings! One of my favorite things to do is garden and I look forward to sharing our experience and journey with you all here in this space. It begins in early February when we begin by day dreaming of the days when we were able to step out into our backyard and bring back freshly cut kale for salads, smoothies and juices. Saving money and time to and from the grocery store and man, does growing your own food feel so rewarding! It makes me so proud to see a full garden flourishing in the backyard.
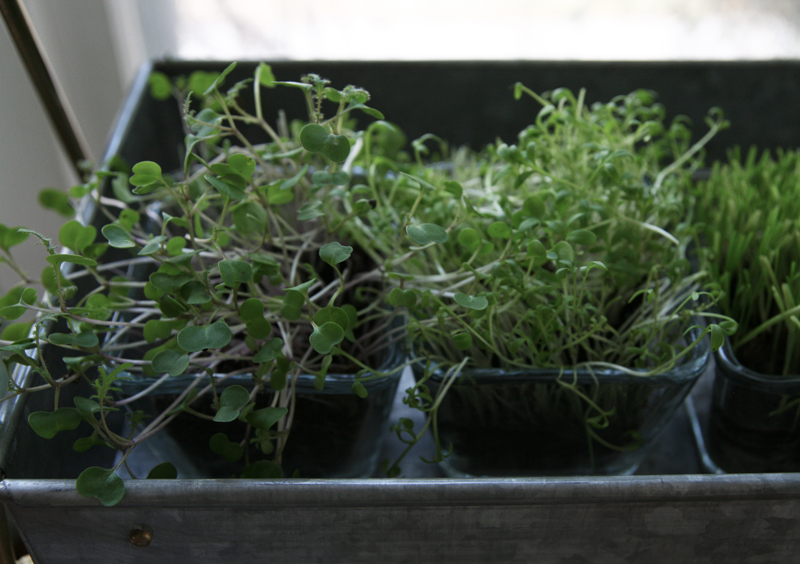
We begin by diving into our seed bank and seed packets that we currently have stored in our freezer. Can’t decide what to plant? First, pick out plants that you currently purchase, check out your fridge! Then do your research and see what flourishes in your neck of the woods. Fresh herbs are a great way to get started, you can plant the seeds directly into clay pots. If you live in an apartment or condo, fresh herbs in pots on your windowsill, balcony or patio is awesome. Herbs we love and use a lot in our cooking include basil, thyme, mint, rosemary, oregano and lavender. Another great way to get started is with micro-greens, sprouts and wheatgrass. Plant seeds into soil in a small glass container and water regularly, follow the seed packets recommendations and in as short as one week you will have fresh mirco-greens, sprouts and wheatgrass for topping salads, sandwiches, omelets and green juices!
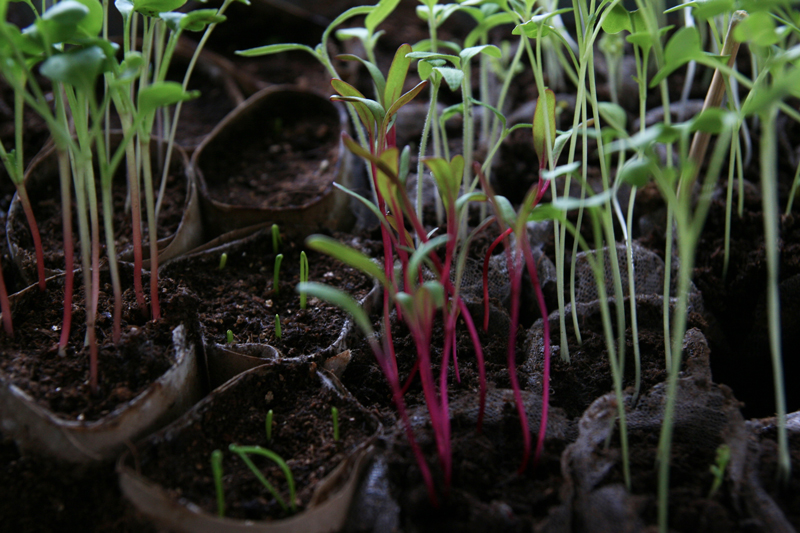
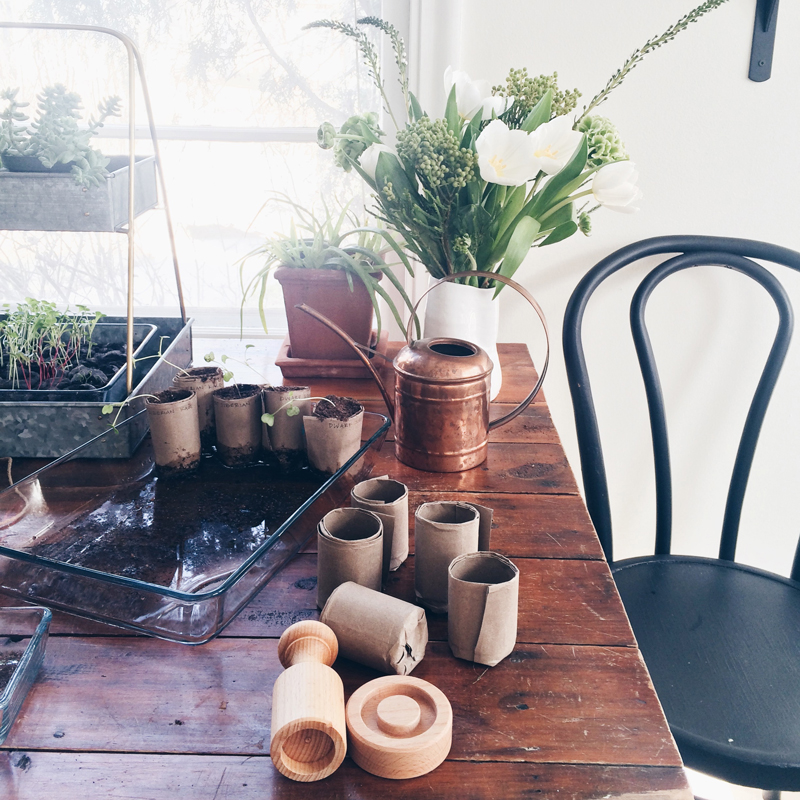
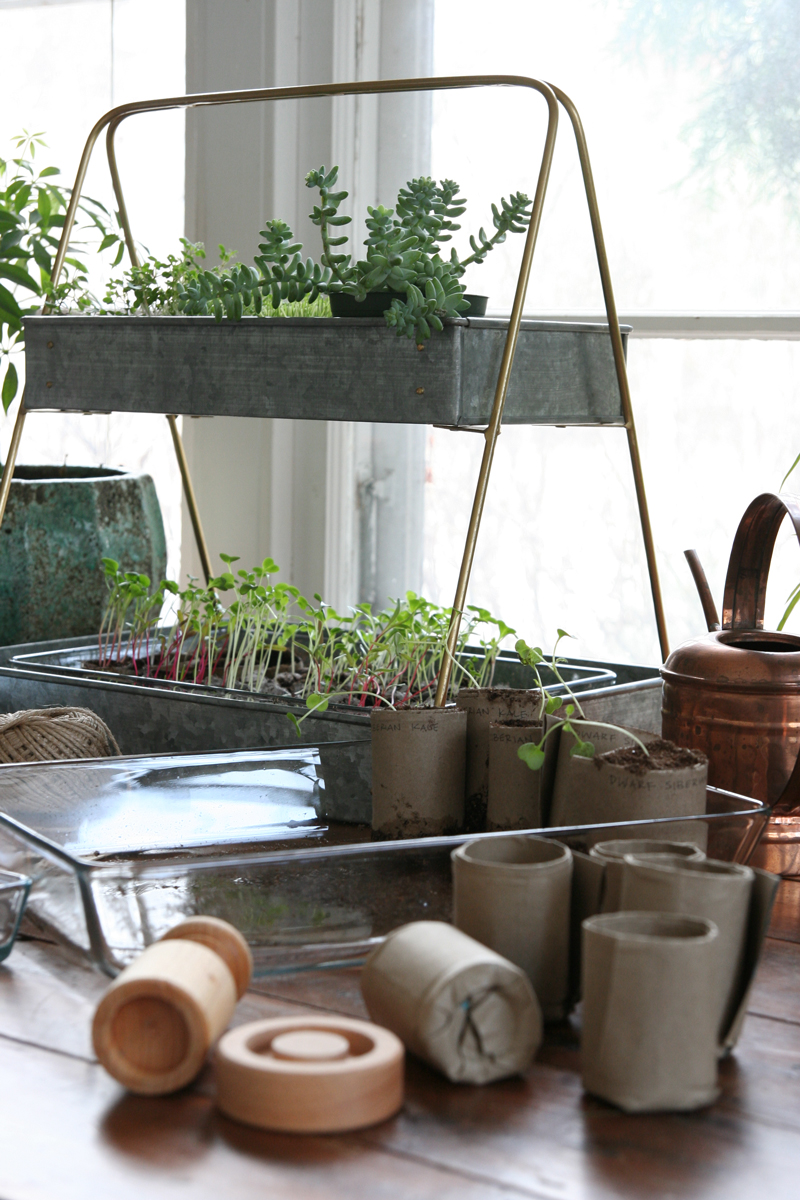
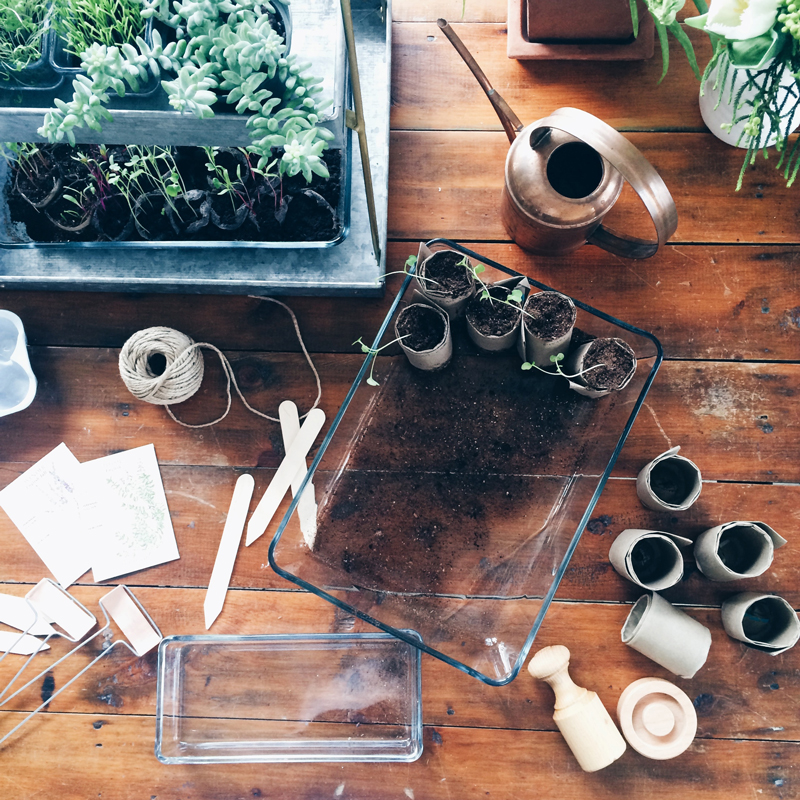
After you have decided what you are going to grow, it is time to plant. When starting your seeds from scratch I always choose NON-GMO / organic seeds, soil and always start them in glass containers. Follow each individual seed packet directions for starting depth. Take your time with planting and diagram where your seeds are and how many using a journal. This helps keep track when they all start sprouting. Upon sprouting, you may need to transfer seedlings to other various containers, for example paper pots you can make with a paper pot press. Do this with the upmost care. The roots and shoot are to be handled extremely carefully. Remember to keep track of what has been transferred and where it now is. At any given time I may have 6+ glass containers that are being used for my seedlings.
As your seedlings mature, I start to introduce outdoor environments to help strengthen them. I do this by adding an oscillating fan, using a mister/spray bottle to wet the seedling/soil and rotating the containers. After 1-2 weeks of this treatment I will slowly introduce them into the outdoors. Each day I will bring the containers outside into our porch and let them feel the natural breeze and load up on direct sun. Be sure not to forget them outside over night if you live in areas of the country that may get frost at night during Spring. After 1-2 weeks of treatment and depending on the forecast for your climate it will be time for the last phase of your seedlings, moving them to your garden bed. Remember to treat them with care as mentioned before, the roots and shoot are vital and to be handled carefully.
Graham’s Seed Starting Tips
1. Always start more than you need, because you can always sell your seedlings or give them away to friends and family.
2. Keep track of what you planted in a journal using a grid so you can identify your seedlings. We all know what kale looks like in a store, but not when it is a little baby and two inches tall.
3. Use a paper pot press to make small pots for your seedlings and place them in a glass bakeware. Plastic containers can leech out harmful chemicals into your seedlings that you then digest.
4. Rotate your trays 180 degrees each day to prevent the plants from stretching too far towards the sunlight.
5. Slowly transition your seedlings outdoors. Begin by adding a fan to your seedlings indoors. Then over the course of 1-2 weeks, place them outside for a few hours in their tray increasing the time each day.
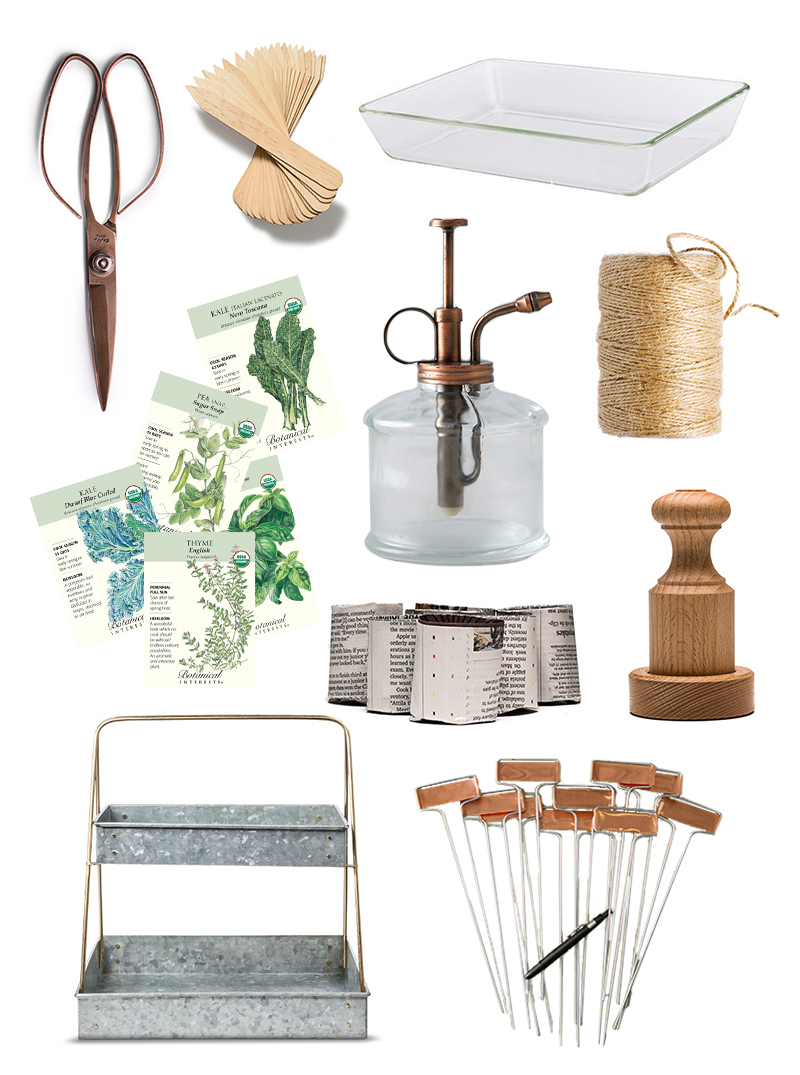
Japanese Copper Scissors // Kaufmann Mercantile truly allows you to discover better products. Hand-forged copper scissors made in Japan.
Birch Wood Seed Markers // These seed markers are long and wide making it easy to write on them.
Glass Bakeware // Cheap, so you can buy 10 of them if you have a big garden like me and start plenty seeds!
Botanical Interests // We have a large seed bank that we use, but we also use quite a few seeds from botanical interests which you can find at a lot of co-op locations and whole foods grocery stores. Their seed packets are beginner friendly, they have very detailed information to help your plant be successful.
Metal & Glass Plant Mister // When growing seedlings, it is very easy to over water and run into trouble with mold and mildew. Using a plant mister helps with not over watering.
Nutscene Garden Twine // Twine is nice to have on hand to help visually separate your seeds for marking.
Beech Wood Paper Pot Press // Reusing your newspaper or grocery bags to make individual pots for your seedlings that you can then directly plant into the soil it great, if you have the time for it. It takes a good deal of time to put these together, but we have found that they are extra happy seedlings this year.
Galvanized 2-Tier Plant Stand // We do not get much direct sunlight into our house, only one window and room really gets enough light to grow seedlings. This 2-tier plant stand helps to stack seedlings on top of one another and still allows light to the bottom tier.
Copper Plant Markers, Horizontal // These plant markers Ella picked out, she thinks they are adorable. I think she has a thing for copper.
**This post is not sponsored. All opinions and thoughts are my own.**


Oh Graham. You are the cutest! My stepdad will LOVE this post!
Very cool. On my honey-do list is to make a rather large raised garden space. This inspires me to actually get it done 🙂